Table of Contents
Activating a TetherBox
Activation assigns your TetherBox to your account and configures it for your cameras and network devices. You can activate from the TetherX website, within the platform, or by scanning the QR code on your serial sticker.
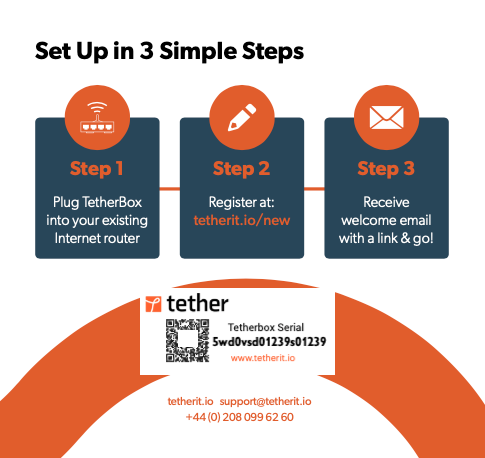
Where to Find Your Serial Number
The serial number is printed on:
- The TetherBox unit itself
- The original packaging
- The Quick Start Guide included in the box
- The drive inside the unit
The serial sticker includes a QR code - scan it with your phone to go directly to the activation page with your serial pre-filled.
Activation Methods
Method 1: From the TetherX Website
- Go to tetherx.io
- Click Activate Your TetherBox in the top right

Method 2: From Within TetherX
- Log in to my.timeline.is
- Go to Admin → TetherBoxes
- Click Activate New
Method 3: Scan the QR Code
- Scan the QR code on your serial sticker using your phone's camera
- Follow the on-screen instructions
Activation Steps
Step 1: Enter Your Serial Number
Enter the TetherBox serial number (or let it auto-fill if you scanned the QR code).
Tick the checkboxes to confirm you've read the Terms and Conditions and Privacy Policy.
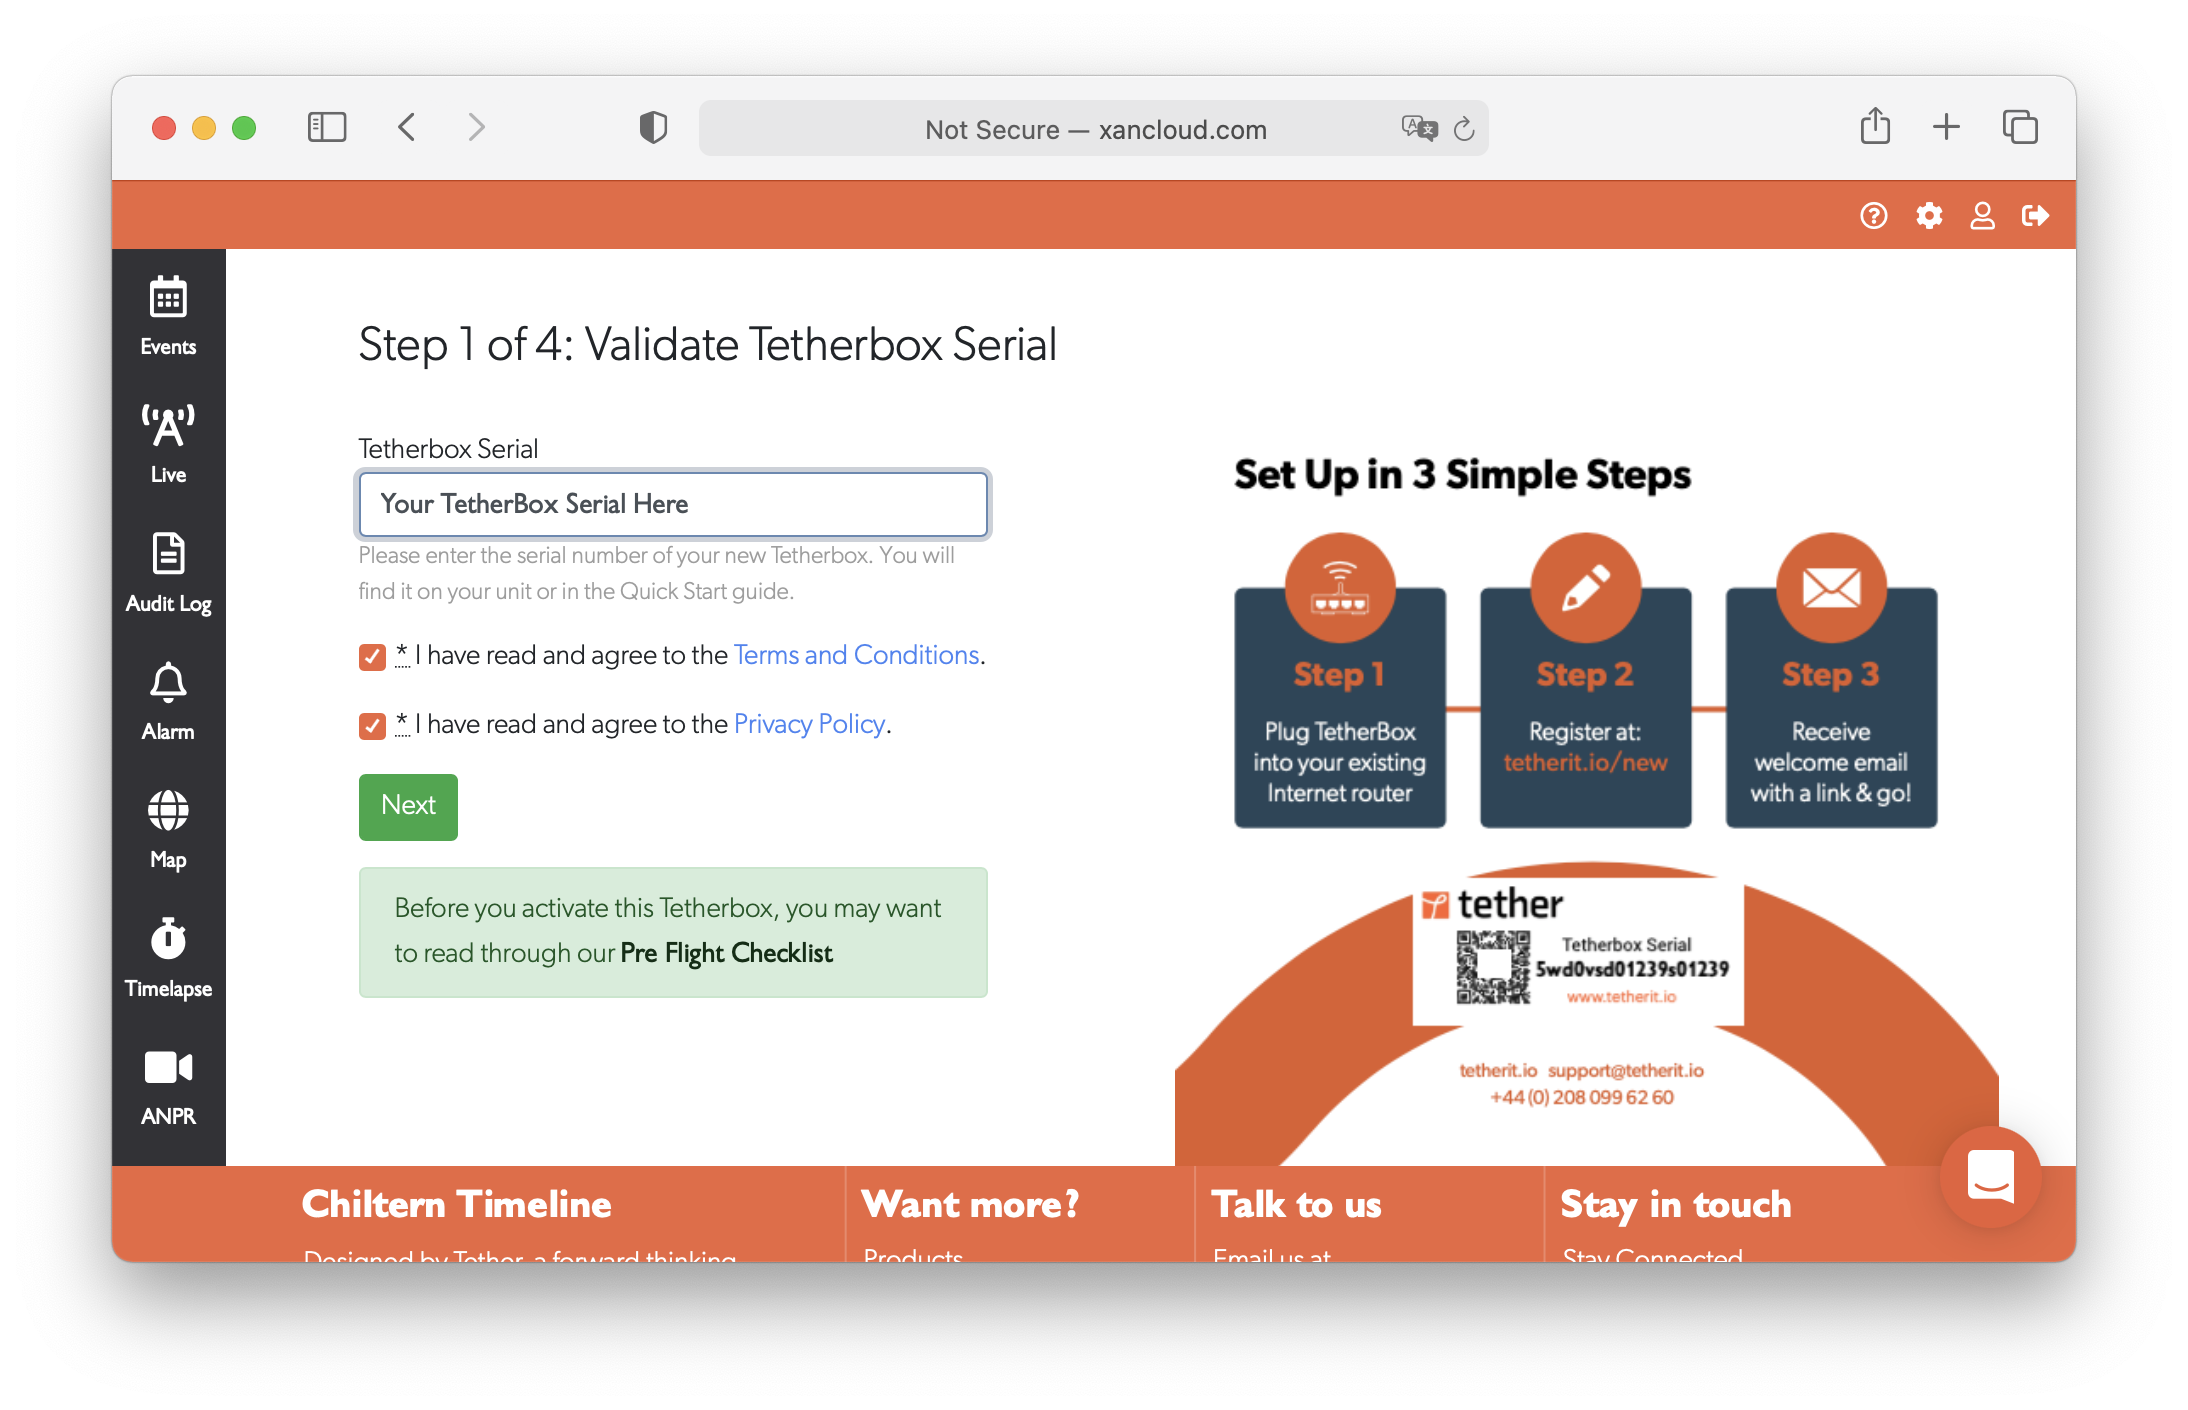
Tip: Before activating, review the Pre-Flight Checklist to ensure you have everything ready for installation.
Step 2: Choose Your Timeline
Select where this TetherBox should be activated:
| Option | When to Use |
|---|---|
| Existing Timeline | Adding a TetherBox to an account that already has TetherBoxes |
| New Timeline | First TetherBox for a new customer or separate account |
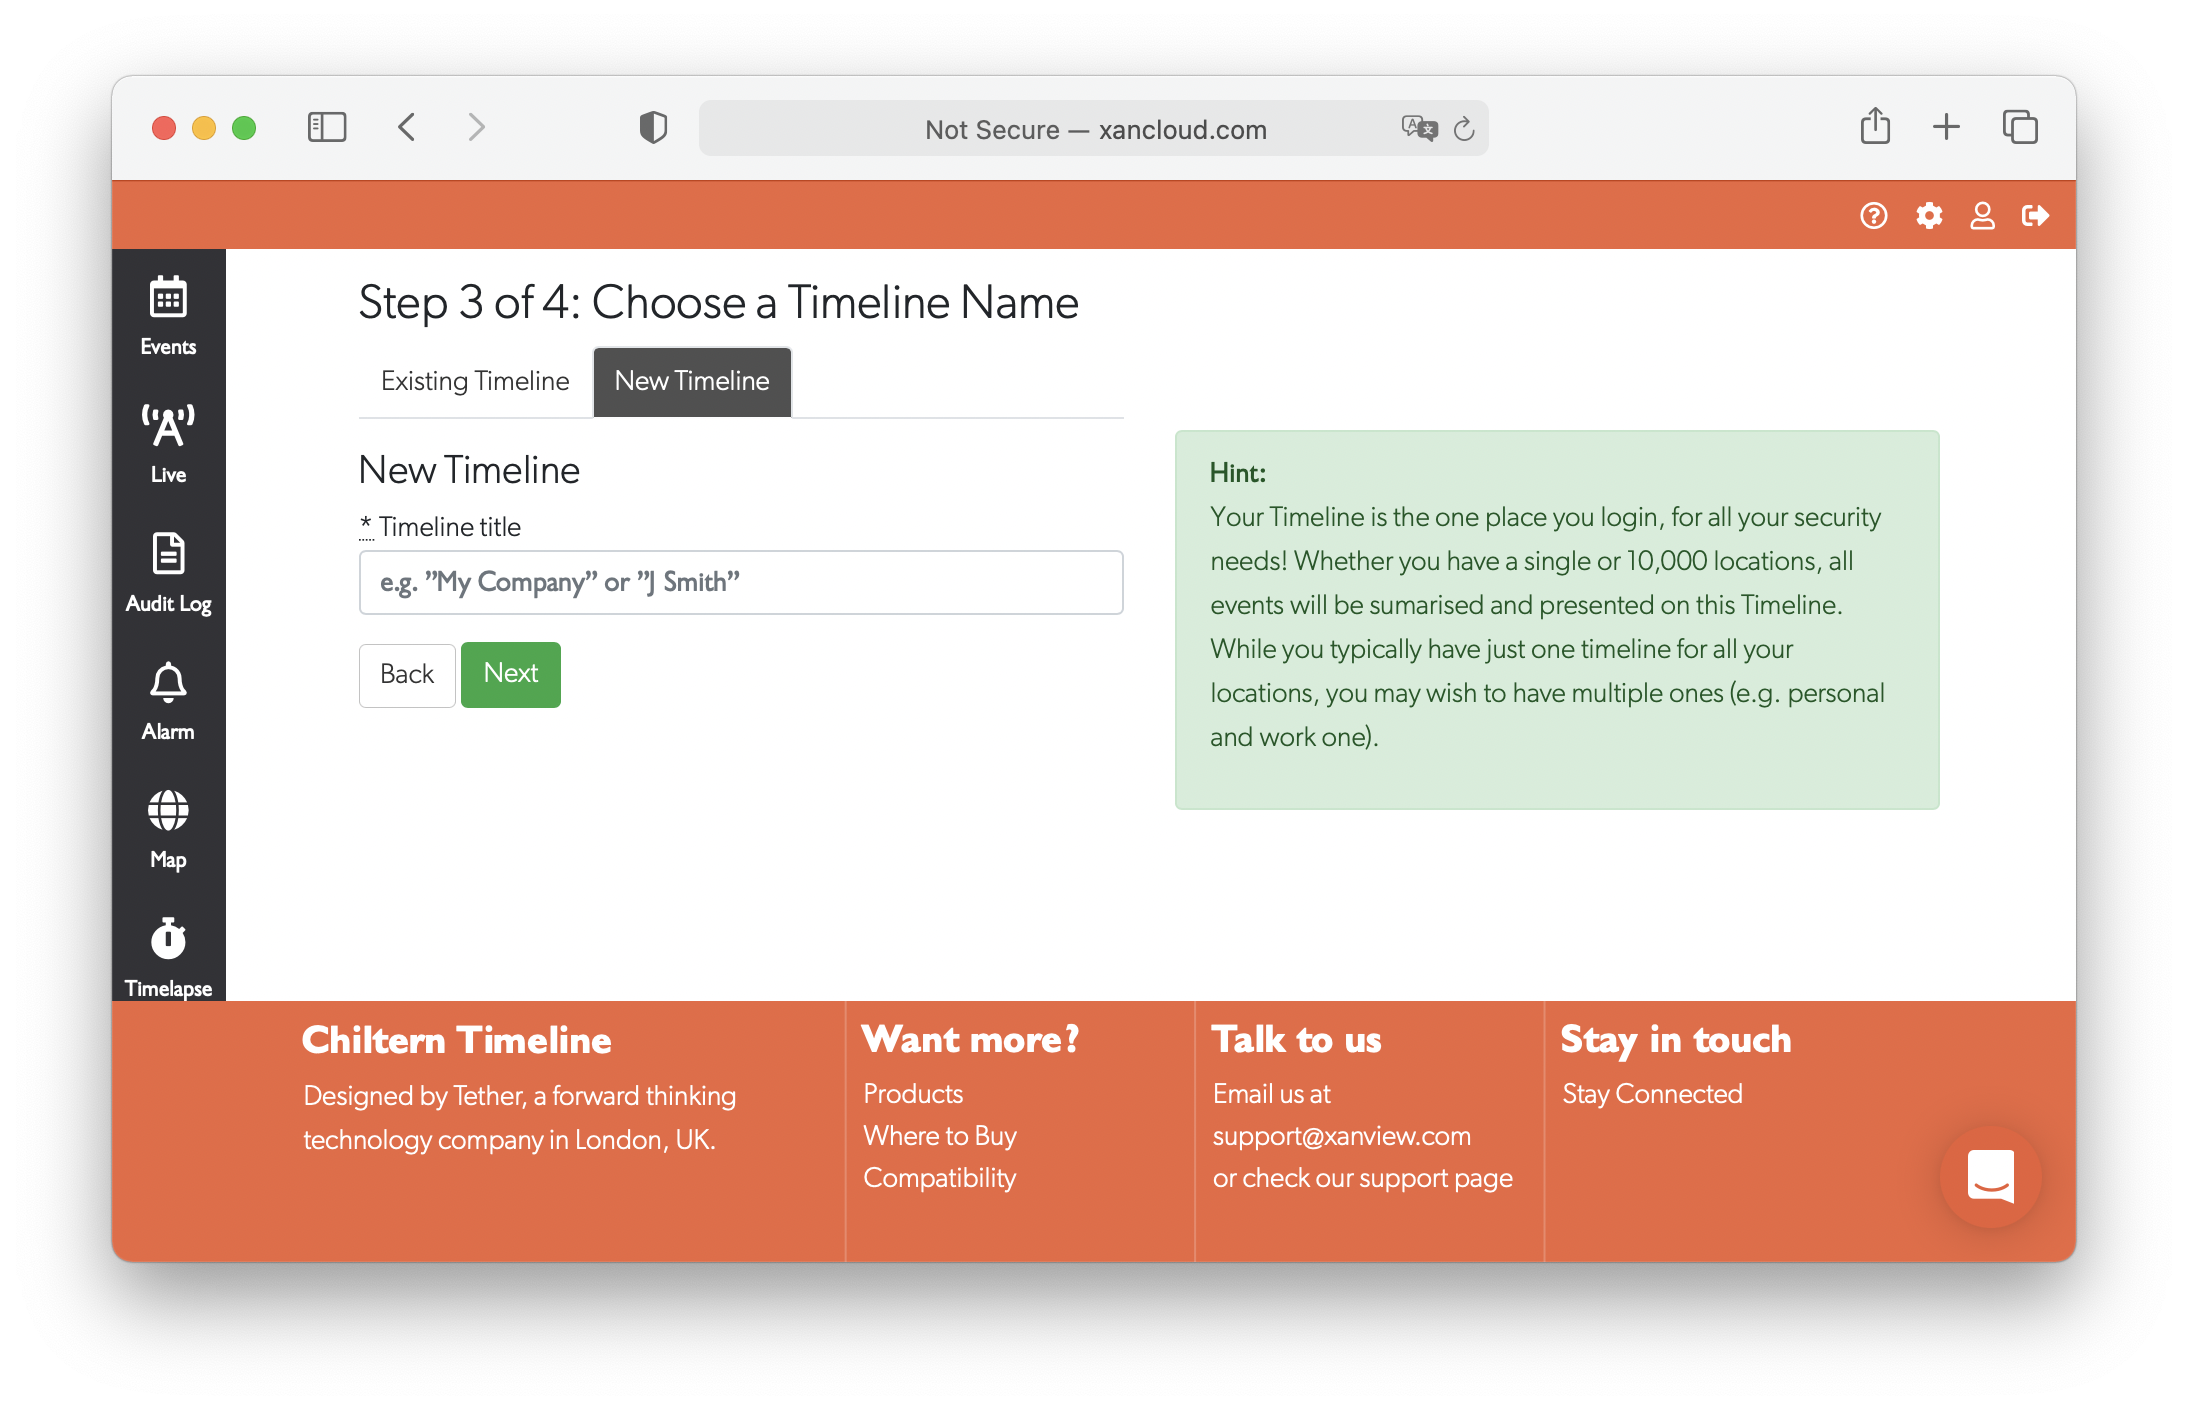
Tip: If you're replacing an existing TetherBox, select the existing timeline where the old unit was activated. This allows you to transfer configuration automatically.
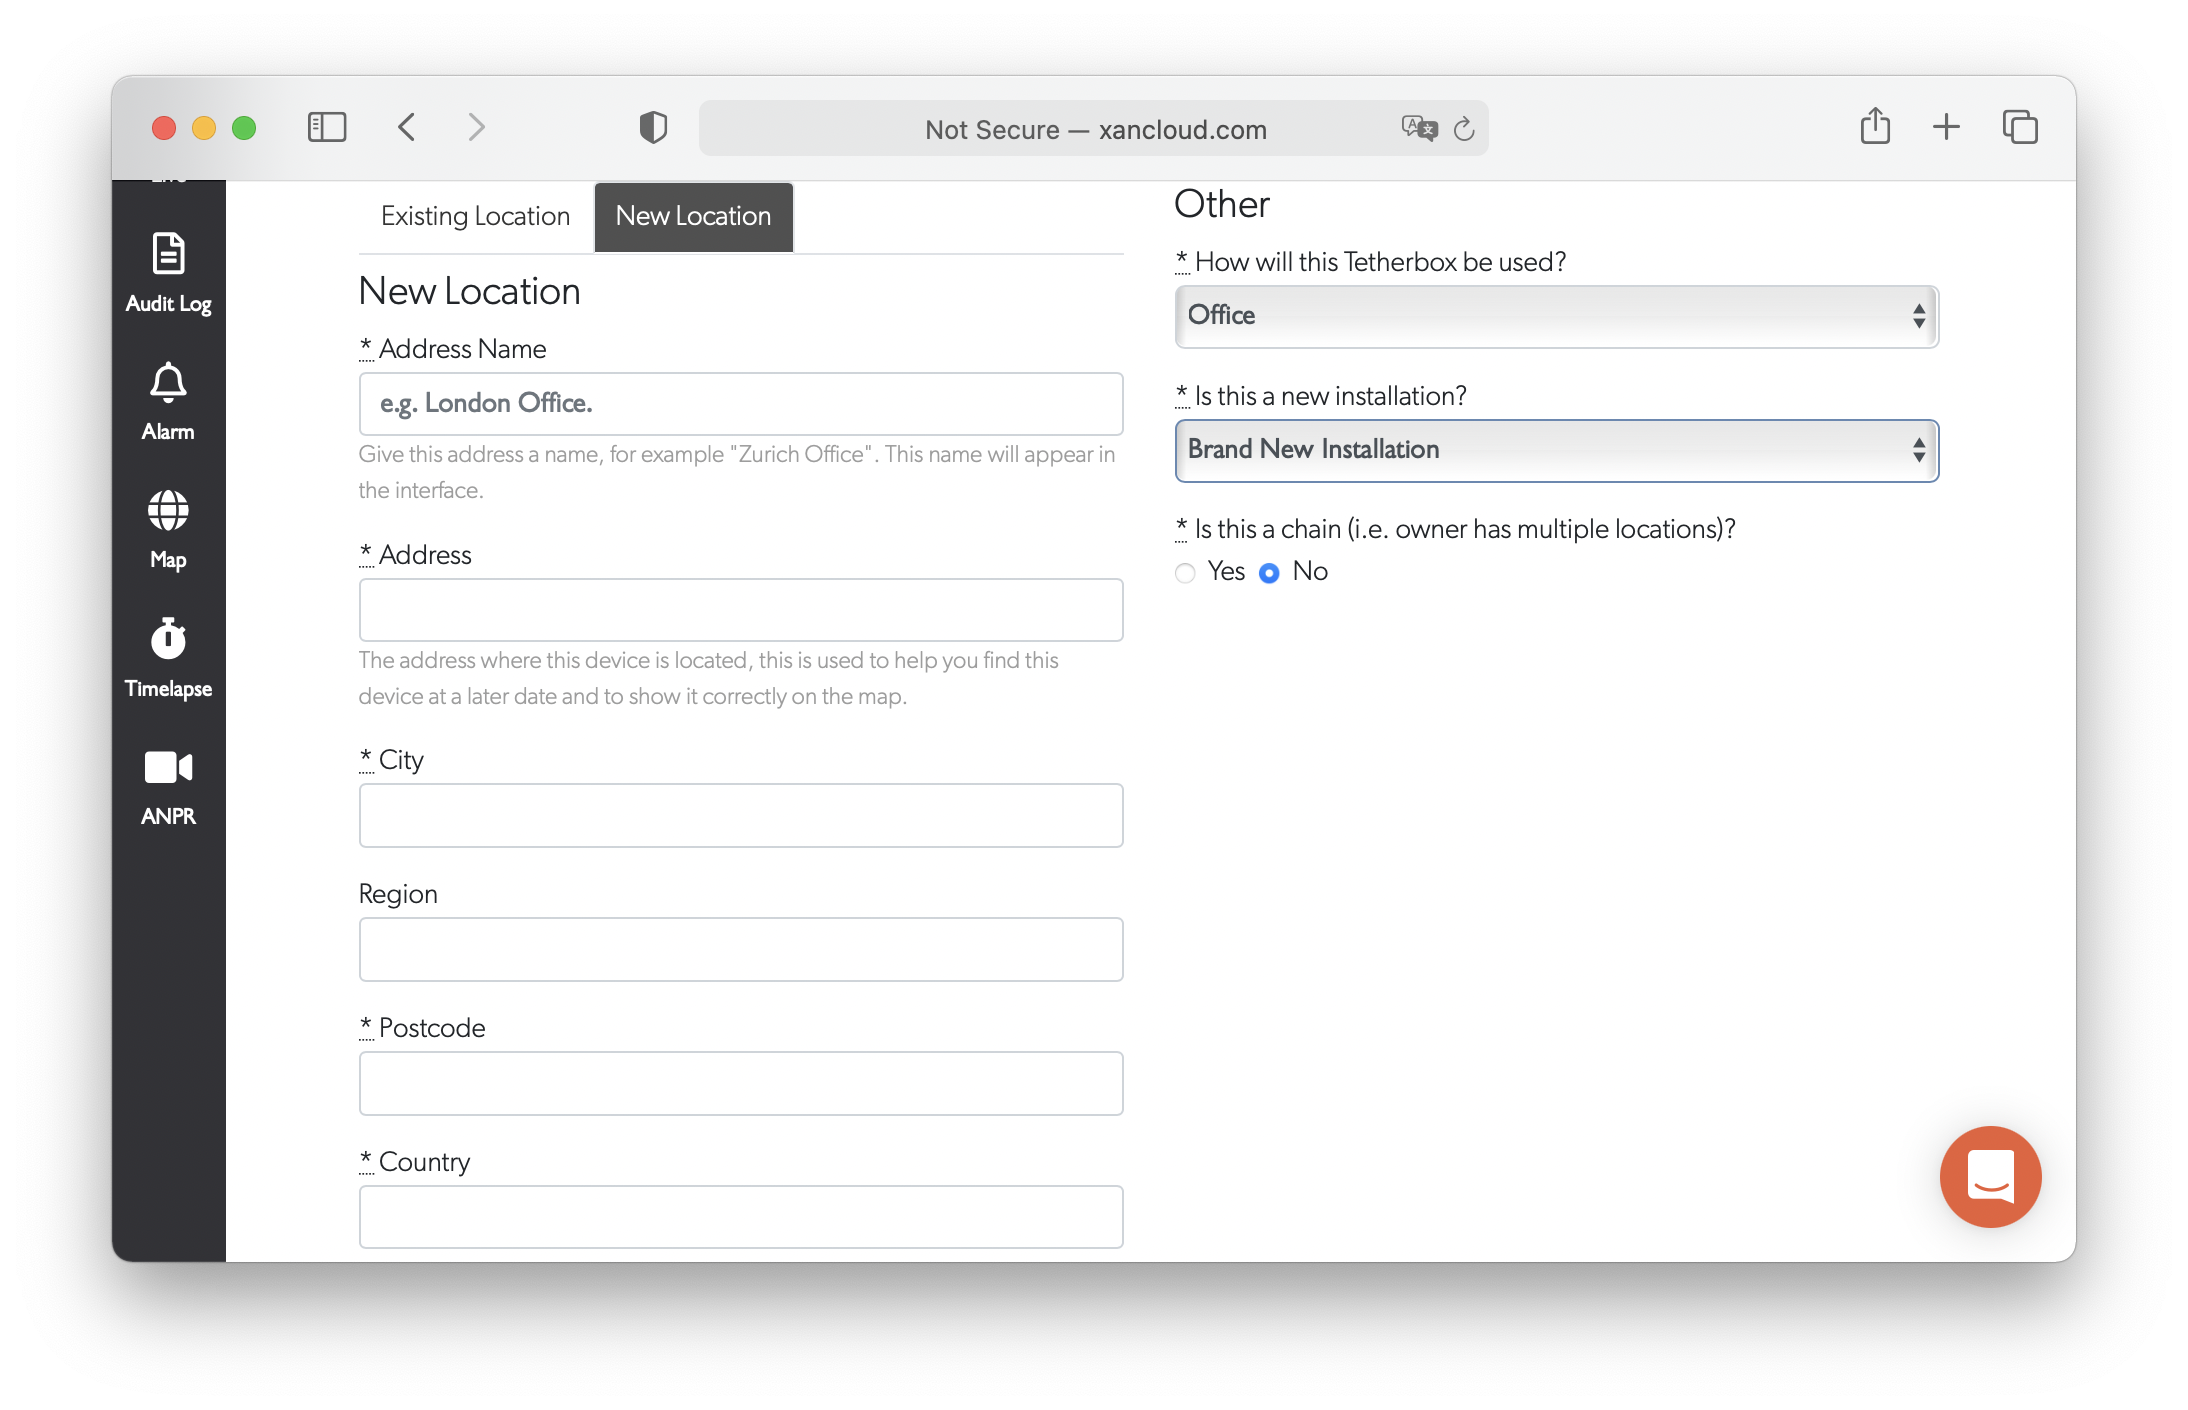
Step 3: Set the Site
Select whether this is for an existing site (another TetherBox at the same site) or a new site.
For new sites, enter the address details:
- Address Name - Friendly name (e.g., "London Office")
- Address, City, Region, Postcode, Country - Physical location for the map
- How will this TetherBox be used? - Environment type (Office, Retail, Warehouse, etc.)
- Is this a new installation? - Brand new or replacement
- Is this a chain? - Multiple locations under one owner
Step 4: Activate
Click Activate to complete the process.
Activation Complete
Once activated, you'll see a success message and receive a confirmation email.
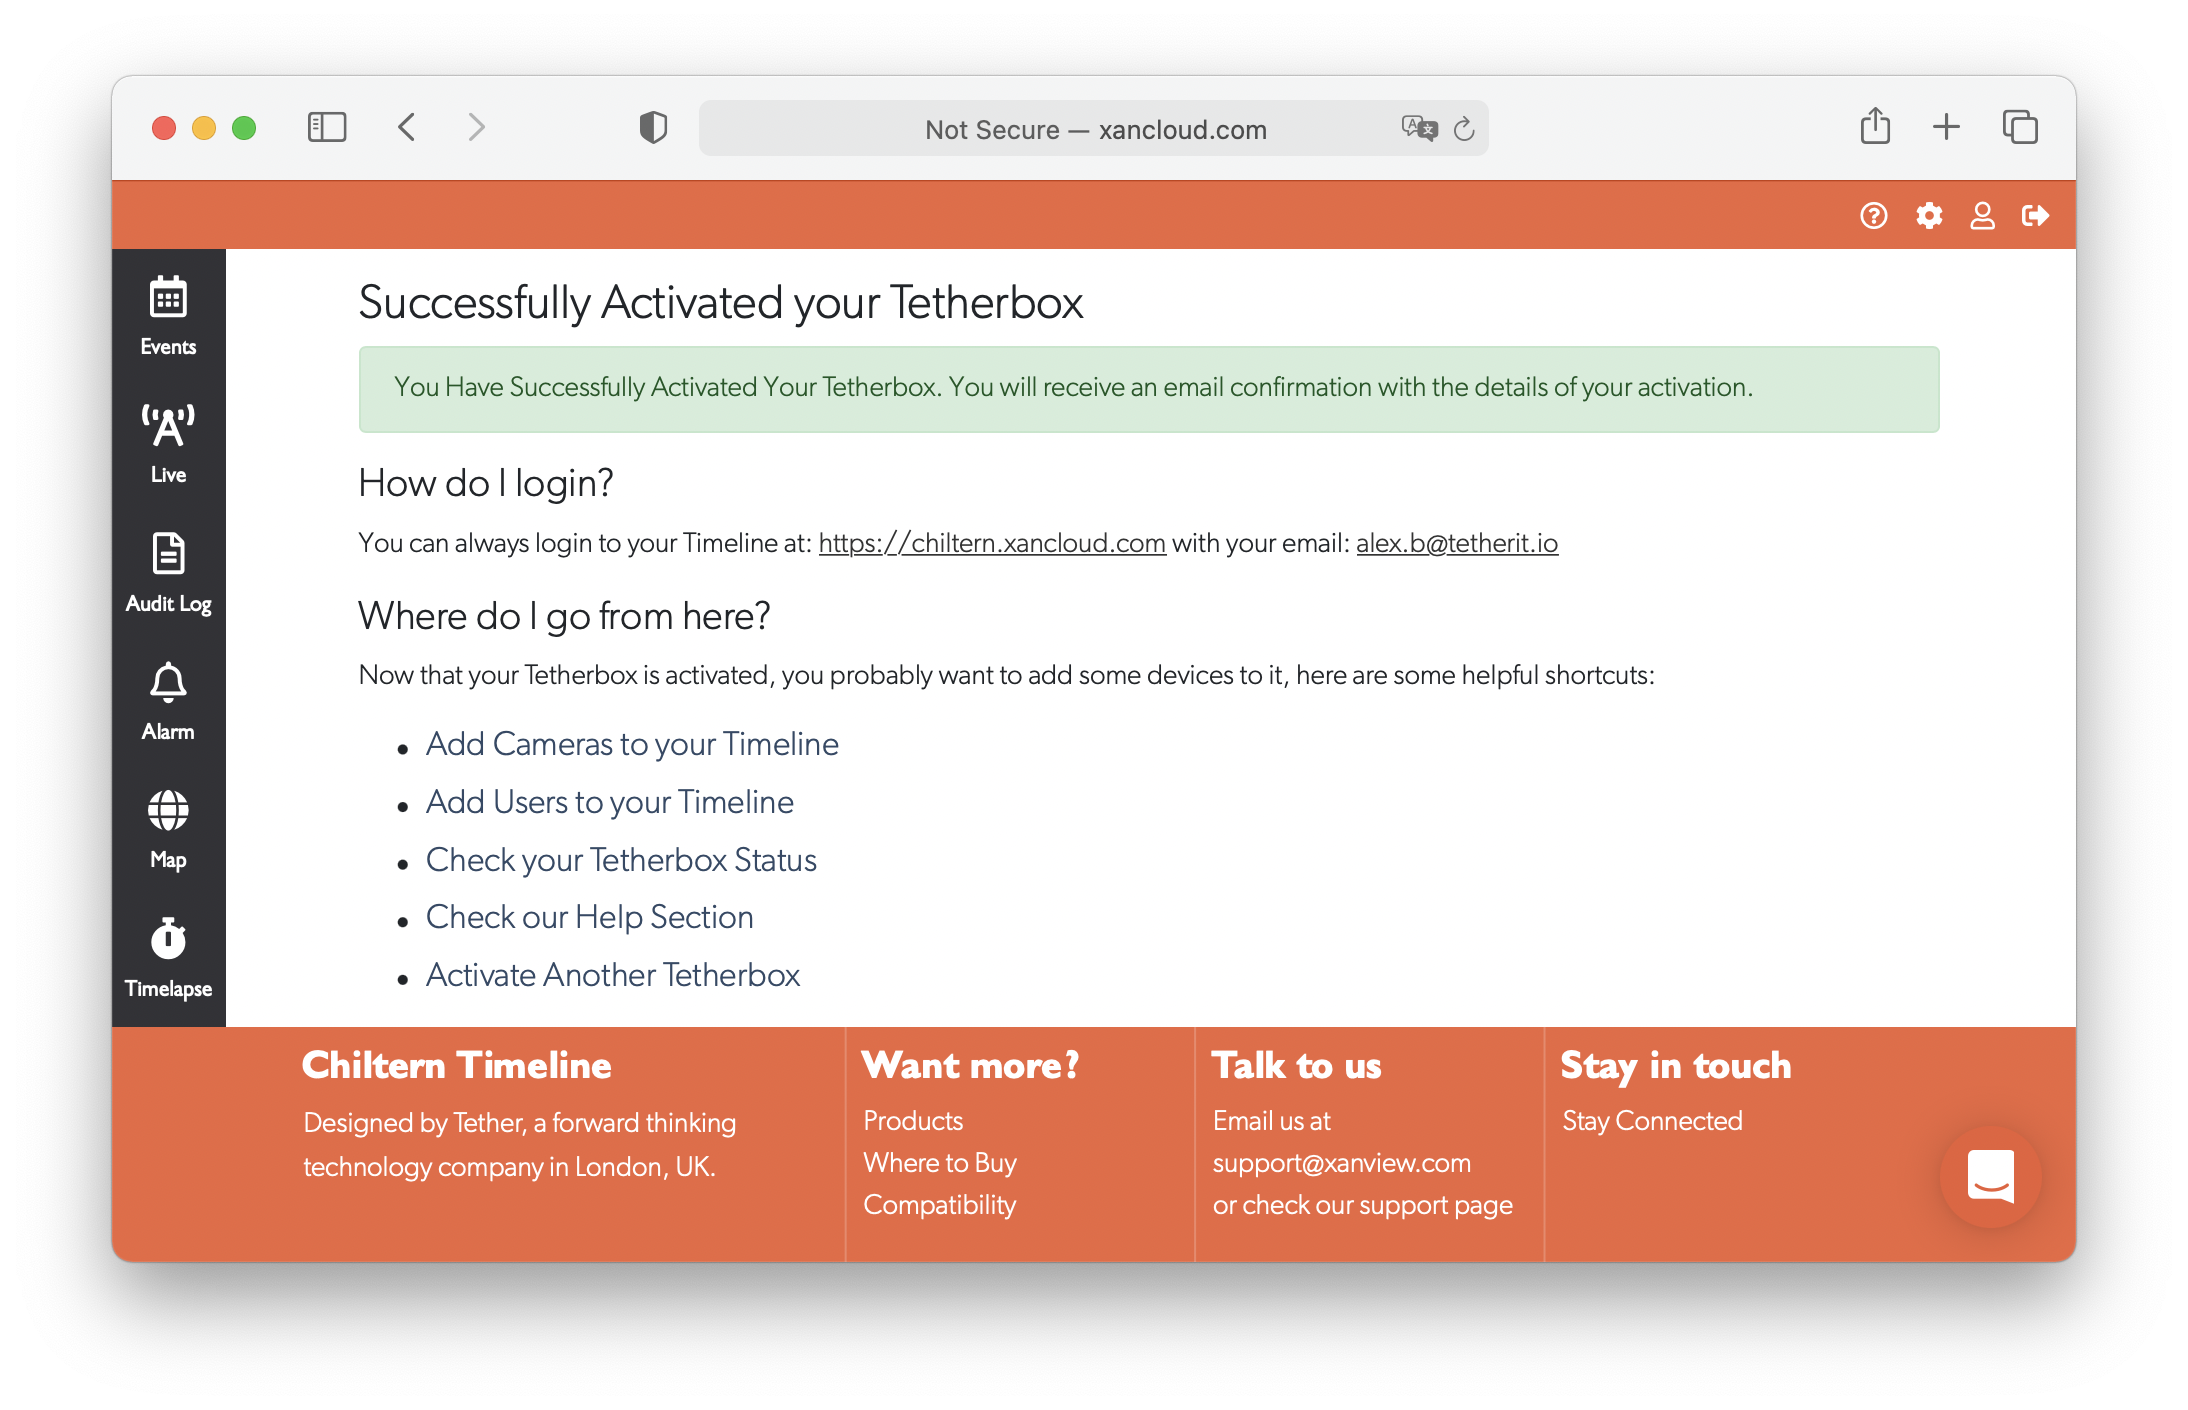
Next steps:
- Add Cameras - Go to Cameras to add your cameras
- Add Users - Go to Users to invite team members
- Check TetherBox Status - Go to TetherBoxes to verify connection
- Activate Another TetherBox - Repeat the process for additional units
Replacing an Existing TetherBox
If you're activating a replacement TetherBox (new drive, warranty replacement, or upgrade):
- During activation, select the existing timeline where the old TetherBox was activated
- When prompted, choose Replace Existing TetherBox
- Select the old unit from the list
Your cameras, zones, network devices, and subscription details transfer automatically. See Replacing a TetherBox for full details.
Warning: Using the same serial number on multiple drives causes conflicts. Units with duplicate serials are flagged and disabled by the platform.
Related Articles
- TetherBox - Overview of TetherBox features and capabilities
- Pre-Flight Checklist - What to prepare before installation
- Replacing a TetherBox - Transferring configuration to a new unit
- Factory Reset - Removing a TetherBox from your account
- Getting Started for Integrators - Partner onboarding guide