Table of Contents
TetherBox Deployment Guide
Danger: This guide is only for approved integrators who have their own Deployment TetherBox configured by TetherX. If you do not have a Deployment TetherBox, contact TetherX to discuss your requirements. Using this process incorrectly can result in duplicate serials, connection conflicts, and disabled units.
This guide covers how to deploy TetherX software to drives or remote hosts using the tetherx-deploy command from a Deployment TetherBox.
Pre-requisites
Deployment TetherBox
You need one or more TetherBoxes designated as Deployment TetherBoxes. These units are specially configured by TetherX. Share the list of serials you want to use for deployment with TetherX support.
Suitable Hardware
Refer to Hardware Specifications for recommended specifications when building TetherBox units.
Tip: We recommend SSDs with a high TBW (terabytes written) rating or NAS-grade hard drives for better durability.
Deploy Laptop / PC
Every laptop used to connect to your Deployment TetherBox must have its SSH public key enrolled. Provide your public key to TetherX:
On Windows:
- Download and install PuTTY
- Use PuTTYgen to generate an SSH key pair - see PuTTY key generation guide
- Send the public key to TetherX support
On Mac or Linux:
- Open Terminal (Mac: Applications → Utilities → Terminal, or search "Terminal" in Spotlight. Ubuntu: Applications → Terminal, or press
Ctrl+Alt+T) - Run the following command:
cat ~/.ssh/id_rsa.pub
- Send the output to TetherX support
TetherBox Serials
TetherX supplies TetherBox serial numbers in multiples of 12. For example, if you request 48 serials, you will receive a list to use with the deployment commands.
Warning: Using the same serial on multiple drives causes conflicts and connection issues. Units with duplicate serials are automatically flagged and disabled by the platform.
Hardware for Drive Deployment
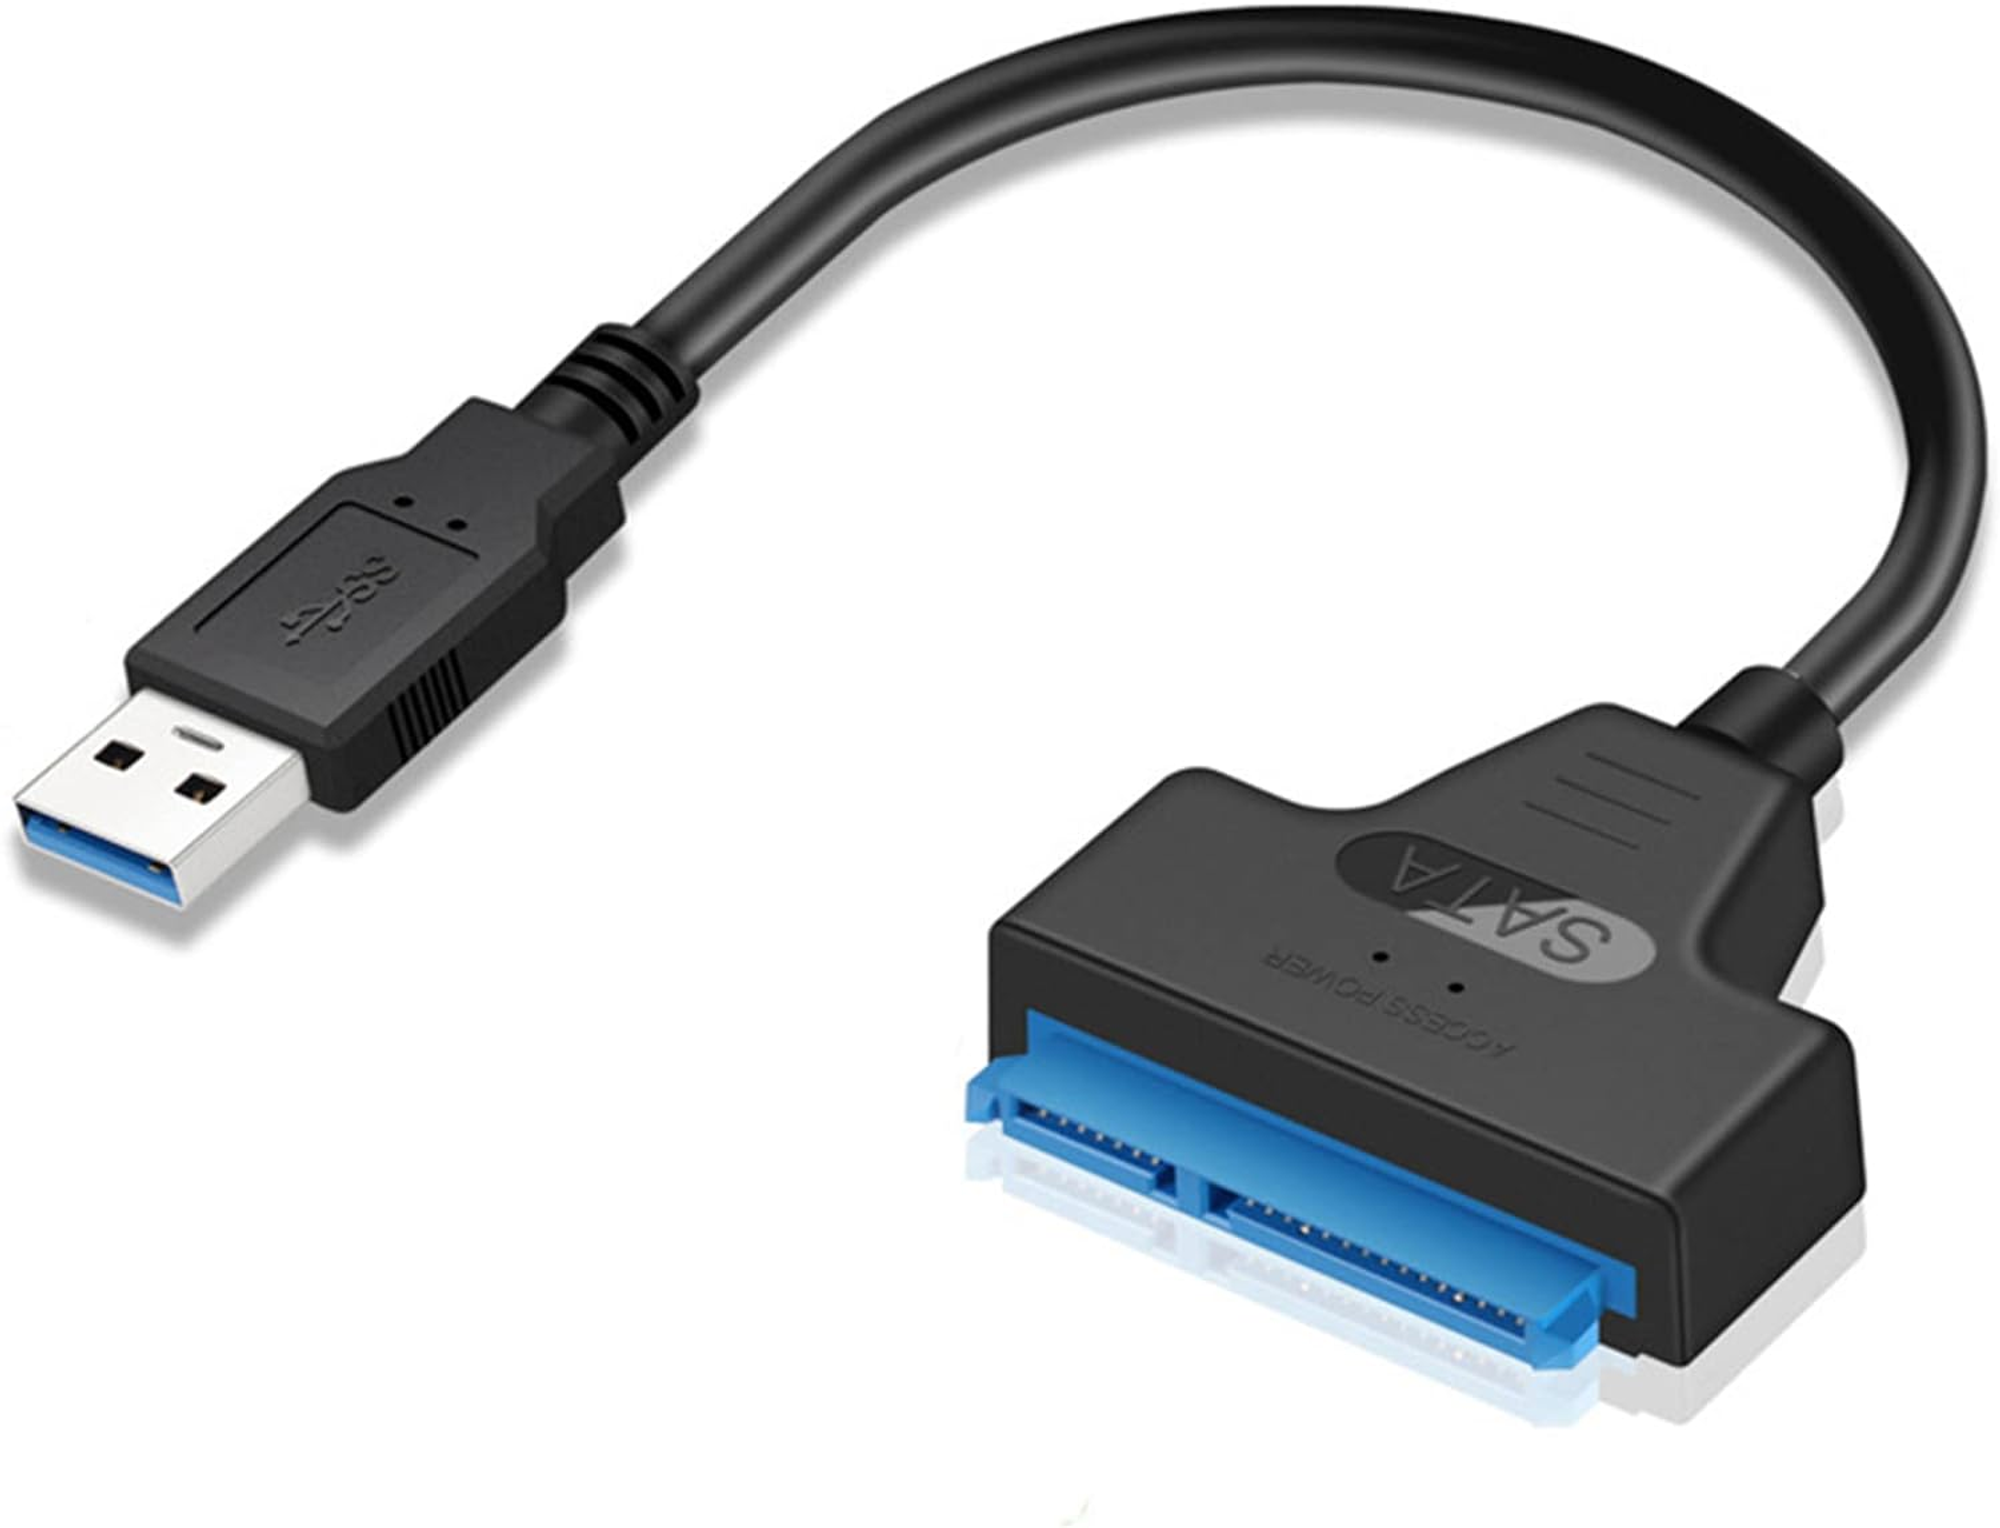
When deploying directly to physical drives, you need a USB adapter:
For SATA drives - A SATA to USB adapter:
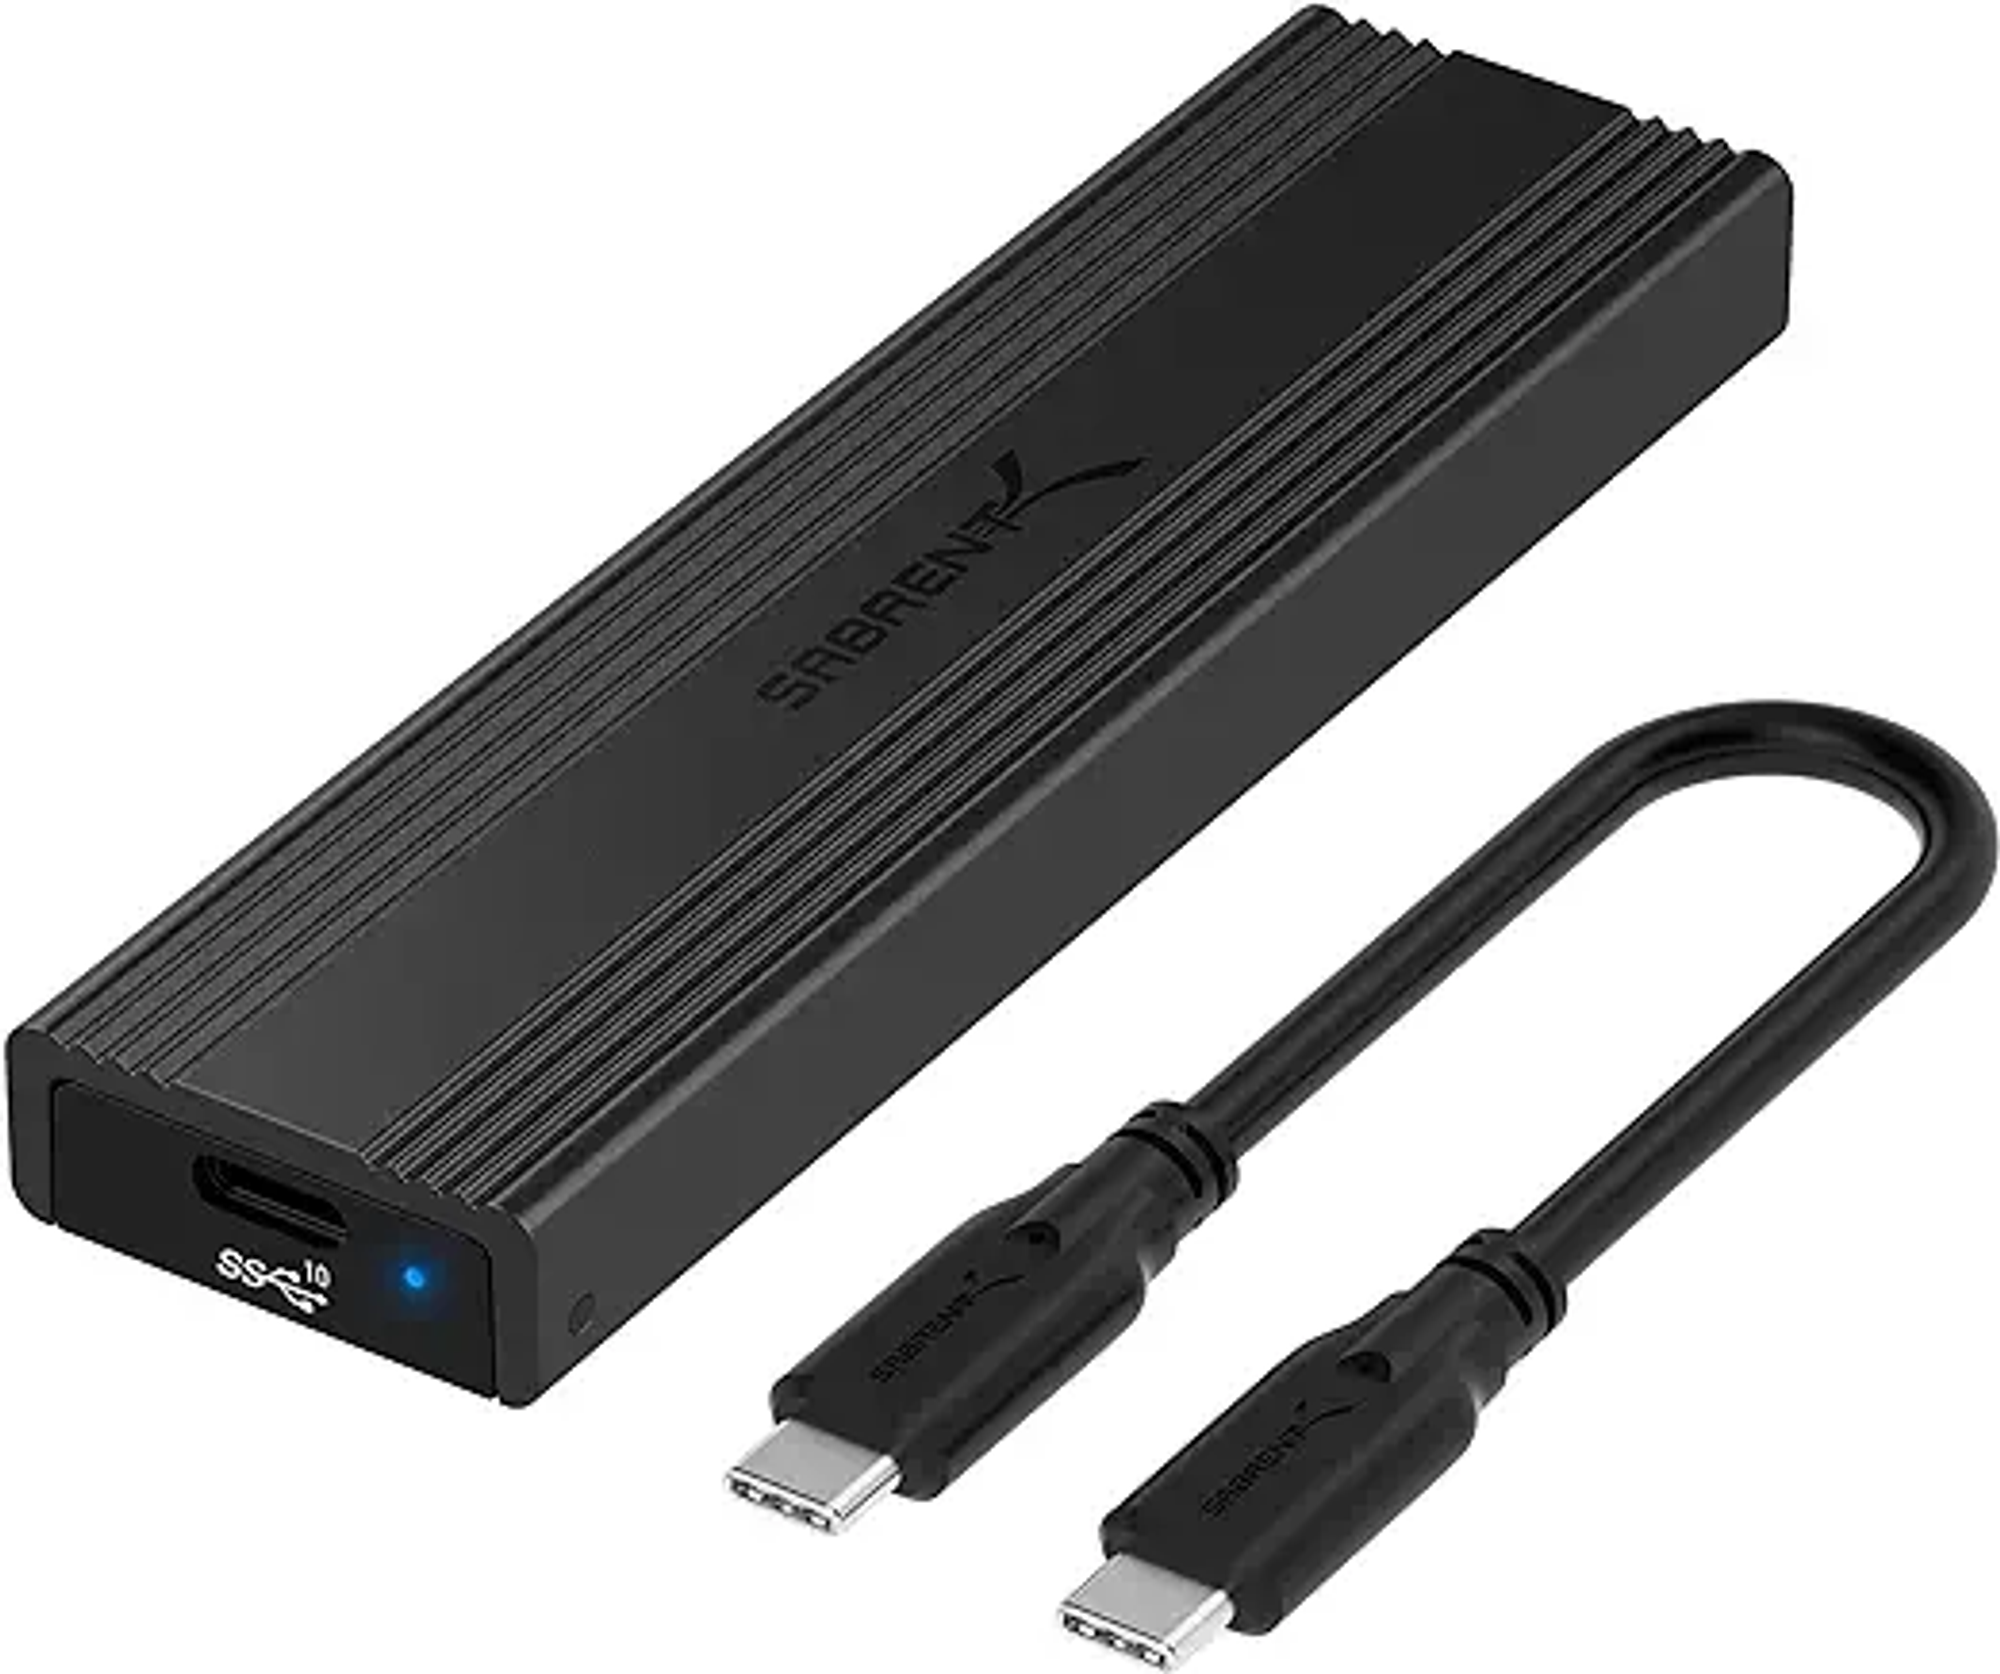
For NVMe M.2 drives - An NVMe to USB enclosure:
Connecting to the Deployment TetherBox
On Windows:
- Open PuTTY
- Enter the IP address of your Deployment TetherBox
- Username:
deployer - Password: leave blank (SSH keys are used for authentication)
On Mac or Linux:
- Open Terminal
- Run:
ssh deployer@IP_ADDRESS
Replace IP_ADDRESS with the IP address of your Deployment TetherBox.
Deploying to a Physical Drive
Connect the drive to your Deployment TetherBox using a USB adapter, then run:
tetherx-deploy --serial TETHERBOX_SERIAL --drive DRIVE
Example:
tetherx-deploy --serial dfkj345dkjser2433sa --drive /dev/sdb
Tip: The drive path is typically /dev/sdb for SATA drives and /dev/nvme0n2 for NVMe drives. If the path is incorrect, the command will list available drives to choose from.
Deploying over SSH
If you have a Linux host already running, you can deploy over SSH:
tetherx-deploy -d DOMAIN --serial TETHERBOX_SERIAL --ip IP --port PORT --user USERNAME --password PASSWORD base,vpn
Example:
tetherx-deploy -d timeline.is --serial dfkj345dkjser2433sa --ip 192.168.1.100 --user tetherx --password 'S3cur3P@ssw0rd' base,vpn
The base,vpn parameter performs a minimal deployment. The cloud server detects the TetherBox connecting via VPN and completes the software installation automatically.
Tip: For subsequent deployments to the same host, omit the --user and --password parameters. The first execution creates a deployer user and configures an SSH key for future connections.
Command Reference
Run tetherx-deploy --help to see all available options:
Usage: tetherx-deploy [options]
    -d, --domain DOMAIN              Sets the cloud domain, timeline.is by default
    -i, --ip, --host HOST            Sets the IP or Host for direct connection
    -e, --app_env ENV                Sets the app environment, production by default
    -s, --serial TETHERBOX_SERIAL(S) TetherBox Serial to Deploy to, or comma separated list
        --port PORT                  Override SSH port, 22 by default
    -u, --user, --username USER      Override SSH username, deployer by default
    -p, --pass, --password PASS      Override SSH password, if deploying for the first time
    -c, --command COMMAND            Run a single command and exit
        --drive DRIVE                Prepare a new bootable drive
| Option | Description |
|---|---|
-d, --domain |
Cloud domain (default: timeline.is) |
-i, --ip, --host |
IP address or hostname for direct SSH connection |
-e, --app_env |
Environment (default: production) |
-s, --serial |
TetherBox serial number(s), comma-separated for multiple |
--port |
SSH port (default: 22) |
-u, --user |
SSH username (default: deployer) |
-p, --pass |
SSH password (first-time deployment only) |
-c, --command |
Run a single command and exit |
--drive |
Path to drive for bootable deployment |
Firmware Updates
TetherBox software is automatically updated by the TetherX platform:
- Security updates - Deployed immediately
- Functionality updates - Applied on a rolling basis or when the unit connects
If you require a specific functionality update for a site, contact TetherX support.
Related Articles
- Hardware Specifications - Recommended specifications for TetherBox hardware
- Installing OS - Manual OS installation for custom builds
- Pre-Flight Checklist - What to prepare before site installation
- Replacing a TetherBox Drive - Replacing drives in deployed units
Referenced in: